June 2, 2022 • 5min read
How to Make a Pretty Wedding Bouquet with Artificial Flowers

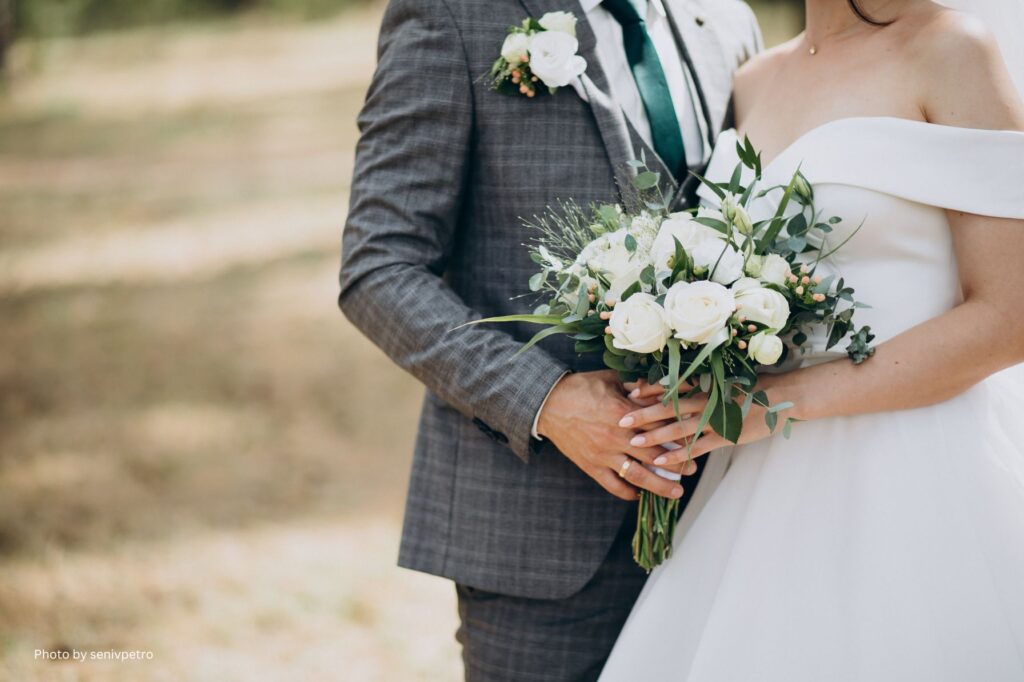
Wedding bouquets can be a little pricey and fresh flowers only last a few days. If you love crafting and any DIY projects, you can save a ton of money and make a long-lasting keepsake by creating a wedding bouquet with artificial flowers.
There are high-quality synthetic flowers available in multiple colors and variations that you can assemble into lovely flower arrangements. You can add any personal embellishments to make your wedding bouquet more personal and will last long after your wedding is over!
Why Should You Go for Artificial Flowers for Your Wedding?
Artificial flowers bring so many advantages, and with today’s giant leap in quality and realism, your guest won’t even notice the difference between the natural blooms. And you may even replicate the scent by spraying some floral perfume.
Here’s why you should choose artificial flowers for your wedding:
- You can color-match artificial flowers however you want them to and any shade that works according to your preference.
- Artificial flowers are free from any allergy, so none of your guests will have a red nose streaming eyes during your ceremony.
- They won’t attract the bees and other bugs if you have an outdoor wedding.
- They’ll always be in peak bloom and you won’t need to wait for the right season.
- Real flowers carry the risk of staining your dress. This won’t be the case for artificial flowers.
Creating a Hand-Tied Cascade Bouquet
Now, we’ll be guiding you on making an attractive bouquet for your wedding day.
Looking for the Perfect Wedding Florists?
"(Required)" indicates required fields
"(Required)" indicates required fields
Step 1: Choose 1-3 Bigger Blooms, 4-6 Smaller Flowers and 3-6 Pieces of Greens
Buy flowers and greens in different shapes and sizes that fit your wedding’s overall color scheme. The hand-tied cascade is a big arrangement of loosely bunched dramatic flowers with trailing greenery. Also, collect floral tape, wire and other embellishments that you think are suitable, like fabric, ribbon, berries, etc.
- A collection of bigger flowers like roses, calla lilies, and peonies, mixed with smaller bunches like jasmine or baby’s breath, offers a textural accent with additional fresh, trailing greeneries.
- Find flowers that come as single stems with a wire that’s just as long and run into the leaves with a matte finish. This will appear more realistic and easier to work with.
- Check out online reviews to find out more about the strengths and weaknesses of various artificial flower designers.
- High-end artificial flowers are recommended as they appear much more realistic than cheaper ones.
Step 2: Layer the Stems with Your Hand
Start with the main bloom you want to bet in the bouquet’s center. Build out from this center with layered circles and rotate the bouquet as you’re crafting it while placing smaller blooms on the outside.
- Place the greenery between the blooms to make space and helps in popping up the blossoms.
- Add other elements like berries if you want to
- You can also add ribbons or bows to the bouquet as you build it by adding floral tape to the individual bloom’s stems.
Step 3: Create a Cascade Effect with Trailing Greeneries and Long Blooms
Add flowers like jasmine, trailing ivy, eucalyptus, olive branches, or honeysuckle at the bottom front of the bouquet. This builds up the long and green flowing base of the cascade,
- You can pause and rearrange if things aren’t looking the way you want them to. You’re in full control of creating your cascade.
- Let your flowers flow outwards, bend them if you need to so that the arrangement won’t remain tightly packed.
- Add noticeable, bright blooms within your cascade as if they’re flowing out of your bouquet’s center. It’s best to use longer stem blooms like roses for this.
Step 4: Use Wire to Secure the Bouquet
Cut out 6-8 inches (14-20 cm) of floral wire with wire cutters and wrap it around the stems several times below the blooms before twisting the ends together. Then, trim the twisted ends of the wire to 1 inch (2.5cm) in length and put them back in the stems. Pull the wire tightly so that the stems are fixed in place.
Step 5: Cut the Stems to Make Them Even in Length
Trim the stems to an even length by using your wire cutters and even them up as you go. You’ll still want the branches to be long enough so that you can grip them, but not too long that they are very noticeable. We recommend making them around 7-8 inches (18-20cm) in length.
Step 6: Use Floral Tape to Wrap the Stems Together
Get the end of your floral tape and wrap it around the stems at the flower’s base, completely covering the wire and stems. Work your way from to the bottom of the branches. Use the tape for tucking the loose end into itself when you get at least 2-3 inches (5.1-7.6 cm) down the stem.
- The floral tape should help stabilize the bouquet, hide the stems and offers a good handle for holding on.
- If you need to, continue to wrap the stems all the way down and cover their ends.

Related Articles
What Flowers Go with a Rustic Pre-Wedding Shoot Theme?
Top 6 Spring Wedding Bouquet Ideas for You
Have to decide how your dream wedding will look like?
Lorem ipsum dolor sit amet, consetetur sadipscing elitr.